A successful paver patio base North Texas project starts below the surface, where Van Alstyne and Anna properties often have expansive clay that changes with wet and dry weather. Careful planning for excavation, drainage, aggregate, and bedding sand gives contractors and homeowners a clear path from an uneven yard to a useful outdoor space.
The base is not a single material. It is a coordinated system that includes the prepared soil, a compacted aggregate layer, a thin bedding layer, the pavers or patio stone, edge restraint, and joint material. Each part has a different purpose. Site conditions and the selected surface determine the final plan, so avoid treating a general depth recommendation as a promise of engineered performance.
Why Does a Paver Patio Base North Texas Project Need Careful Planning?
A North Texas patio needs careful base planning because local clay can expand when wet, shrink when dry, and hold water beneath hardscape. A plan that addresses subgrade condition, drainage direction, compacted aggregate, and a consistent bedding layer helps limit avoidable movement while giving the finished pavers a level, supported surface.
Start with the soil you actually have
Blackland Prairie clay is common around Van Alstyne and Anna, but conditions can vary across one property. A low area near a downspout may stay soft while a sunny section is hard and dry. Before ordering material, inspect the entire footprint after both ordinary weather and, when possible, a rain. Note soft spots, roots, buried utilities, irrigation lines, and any place where runoff enters the project area.
Remove grass, organic material, loose fill, and unstable soil from the planned excavation. Organic material breaks down and leaves voids, while loose soil can compress unevenly. The exposed subgrade should provide a consistent starting point. If the site has persistent softness, unusual fill, a steep grade, or drainage concerns near a structure. Consult an experienced hardscape contractor or qualified professional before selecting depths or materials.
Plan water movement before material delivery
Water should move away from foundations and should not collect at the patio edge. Establish the intended finished elevation and drainage direction with stakes, string lines, and level checks. Also consider where displaced runoff will go. Directing water off the patio is only useful when it reaches a suitable outlet instead of a neighbor’s property, another low spot, or a vulnerable planting bed.
Keep the finished surface below door thresholds, siding, and weep holes as appropriate for the structure. Existing drainage patterns, roof runoff, and local requirements may affect the layout. This early review is much easier than trying to correct a drainage problem after the pavers are installed.
Plan the Patio Footprint, Elevations, and Excavation
Good layout planning defines the patio’s exact shape, finished height, drainage direction, and total layer depth before excavation begins. Marking those details helps estimate materials, preserves space for edge restraints, and reduces last-minute cuts. It also reveals conflicts with utilities, irrigation, doors, steps, and nearby structures while changes are still easy.
Mark the finished surface, not just the hole
Use stakes and string to outline the patio and show the intended finished height. Measure diagonals on rectangular layouts to confirm square corners. Include the width needed for edge restraint and working room around the perimeter. For curved designs, use a hose or marking paint to test the shape before committing to excavation.
Then work backward from the finished surface. Account for the thickness of the chosen paver or stone, the planned bedding layer, and the compacted aggregate layer. Excavation depth should reflect compacted, not loose, material. Because project conditions differ, confirm the base plan with the paver manufacturer, project designer, or installer rather than relying on one universal depth.
Protect utilities and access
Arrange for required utility locating before digging. Private irrigation, low-voltage lighting, and other owner-installed lines may need separate identification. Plan how a delivery truck, wheelbarrow, or compact equipment will reach the site without damaging pavement, turf, fencing, or utilities. Contractors should also identify a safe staging area where different materials will remain separate and clean.
Prepare a consistent subgrade
Excavate to the planned lines and remove roots, sod, debris, and visibly unstable material. Shape the subgrade to follow the intended drainage direction. Compact it consistently with equipment appropriate for the site, checking elevations throughout the process. Do not use bedding sand to hide major subgrade variations. Correcting those variations at the proper layer supports a more predictable installation.
Choose the Right Layers for the Base System
A practical base system typically combines a prepared subgrade, optional separation fabric when the site calls for it. Compacted graded aggregate, a thin and even bedding layer, the selected pavers or stone, secure edges, and joint material. Choosing each layer for its intended job avoids substitutions that can create uneven support or trap water.
Compacted aggregate creates the structural platform
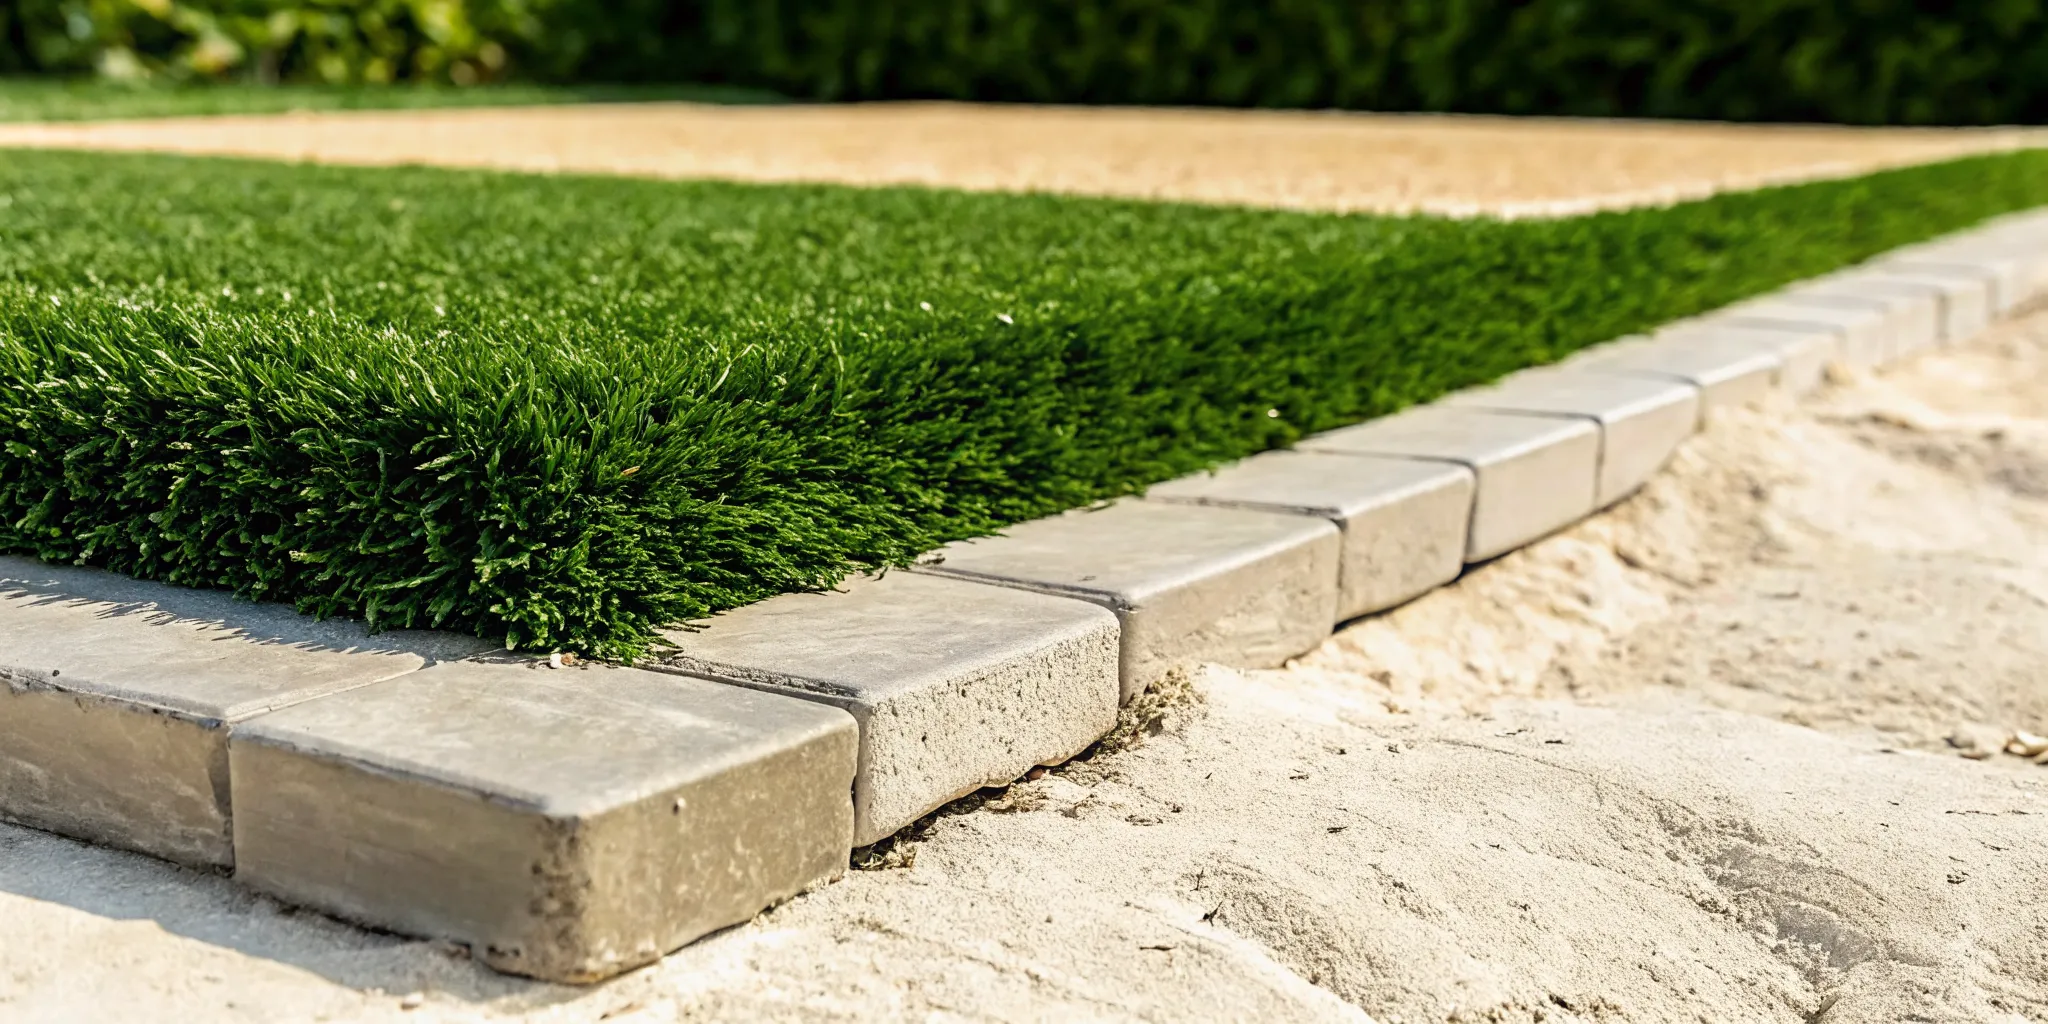
Graded aggregate contains a range of particle sizes that can fit together during compaction. McCraw’s road base is a logical material to discuss when planning the compacted aggregate layer. Confirm that the selected product, lift thickness, compaction equipment, and planned depth fit the site and the surface manufacturer’s instructions.
Install aggregate in manageable lifts rather than placing the entire loose depth at once. Compact each lift and check slope and elevation before adding the next. Lift thickness should match the equipment’s capabilities and project plan. This staged approach helps contractors and homeowners find high or low areas while they can still be corrected without disturbing completed work.
Bedding sand is a leveling layer, not a replacement base
A thin, consistent bedding layer creates a uniform setting surface for many paver systems. Cushion sand may be considered during material planning, but confirm compatibility with the selected paver system and installation instructions. Bedding material should not be used to fill deep depressions or compensate for an aggregate base that is out of grade.
Screed only the area that can be covered promptly, and avoid walking on prepared bedding. Rain or foot traffic can disturb its thickness. Work from the installed surface as the project advances, and correct disturbed sections before setting additional units.
Surface, edges, and joints complete the system
The selected paver or stone affects excavation depth, laying pattern, edge details, and cutting needs. Browse McCraw’s patio stone options early, then plan the layers around the actual product dimensions. Edge restraint helps keep perimeter units from spreading, while the specified joint material fills gaps and supports the intended surface system.
How Much Base Material Should You Plan to Order?
Estimate base material by calculating the patio area, multiplying it by each compacted layer depth. Converting the result to the supplier’s sales unit, and allowing a reasonable planning margin for compaction and handling. Confirm calculations with the supplier because material density, moisture, site access, shape, and the difference between loose and compacted volume affect orders.
Calculate area and compacted volume
For a rectangle, multiply length by width to find square feet. Break an irregular patio into smaller rectangles or other simple shapes, calculate each area, and add the results. Record measurements instead of estimating by sight. Keep the base footprint and any extra width needed for edge support in mind when determining total area.
Convert the planned compacted depth from inches to feet by dividing by 12. Multiply square feet by depth in feet to find cubic feet. Divide cubic feet by 27 to estimate cubic yards. For example, a 12-by-16-foot footprint is 192 square feet. A planned 4-inch compacted layer is 0.333 feet, so the calculated compacted volume is about 64 cubic feet, or about 2.37 cubic yards, before any ordering adjustment.
Calculate bedding separately
Use the same method for the bedding layer, but do not combine the result with road base because the materials serve different purposes. For that same 192-square-foot footprint, a planned 1-inch bedding layer is 0.083 feet deep. The calculation produces about 16 cubic feet, or 0.59 cubic yard, before considering the project’s specific requirements and supplier guidance.
Build a quantity worksheet before calling
- Record the measured footprint, including any planned base extension.
- List the compacted depth for every material layer.
- Calculate each material independently and label the unit.
- Note access limitations, delivery location, and project schedule.
- Confirm whether supplier estimates refer to loose or compacted material.
- Ask how moisture, handling, and compaction may affect the order.
Curves, cuts, changes in grade, and uneven excavation can affect quantities. A planning allowance may be sensible, but there is no single percentage that fits every project. Share your measurements and layer plan when you contact McCraw Landscape Supply. The team can help review the material list without replacing site-specific engineering or installer guidance.
Build and Check the Base in a Logical Sequence
A logical installation sequence moves from layout and excavation to subgrade preparation, aggregate placement in compacted lifts, final grade checks, bedding preparation, surface installation, edge restraint, and joints. Inspecting slope, elevation, and consistency after every stage catches errors early and keeps one weak layer from affecting all the work above it.
Use checkpoints instead of waiting until the end
- Confirm layout: Recheck dimensions, square corners, curves, finished height, and drainage direction.
- Inspect excavation: Remove loose or organic material and verify there is room for every planned layer.
- Prepare subgrade: Shape and compact the exposed soil consistently, addressing soft areas before covering them.
- Place aggregate: Spread road base in planned lifts, compact each lift, and check slope and elevation repeatedly.
- Prepare bedding: Screed a uniform layer without using it to correct major base defects.
- Install the surface: Follow the selected product’s pattern, spacing, cutting, and compaction instructions.
- Finish edges and joints: Install compatible restraint and joint material, then complete final checks.
Keep materials clean during construction
Separate road base, bedding sand, excavated clay, and joint material at the staging area. Clay mixed into aggregate or bedding can change how the material handles and drains. Cover materials when weather threatens, keep equipment paths organized, and avoid driving over a completed layer unless the installation plan allows it. Clean staging supports cleaner measurements and fewer interruptions.
Pause when site conditions do not match the plan
Unexpected fill, buried debris, saturated soil, standing water, or a previously hidden slope should trigger a review. Do not simply add more sand or stone and hope the issue disappears. Contractors can document the condition and revise the plan with the owner or designer. Homeowners should seek professional guidance when conditions exceed the original project assumptions.
Compare Base Materials by Their Intended Role
Base materials should be compared by function rather than appearance alone. Graded aggregate is planned for the compacted platform, bedding sand creates a consistent setting layer. Patio stone or pavers form the surface, and joint material fills the finished gaps. Clear roles make ordering easier and reduce the risk of using one material for the wrong task.
| Layer or component | Material to discuss | Primary planning role | Important check |
|---|---|---|---|
| Subgrade | Prepared native soil | Provides a consistent starting surface | Check firmness, drainage direction, and problem areas |
| Separation layer | Specified geotextile, when appropriate | Helps separate native soil from aggregate | Confirm whether site conditions and design call for it |
| Compacted base | Graded road base | Creates the main compacted platform | Confirm compacted depth, lifts, and equipment |
| Bedding layer | Compatible cushion or bedding sand | Creates a thin, even setting bed | Confirm product compatibility and uniform thickness |
| Surface | Pavers or patio stone | Creates the finished walking area | Confirm thickness, pattern, cuts, and manufacturer guidance |
| Edges and joints | Compatible restraint and joint material | Completes and contains the surface system | Match materials to the chosen surface and installation method |
Make product decisions before final quantity decisions
Choosing the finished stone late can force changes to excavation depth, bedding, edge details, and cuts. Select the surface early enough to obtain its installation guidance and actual dimensions. Then verify the base and bedding products against that information. A coordinated list is more useful than separate material guesses made at different stages.
Account for contractor and homeowner priorities
Contractors may focus on delivery timing, equipment access, crew sequence, and repeatable checks. Homeowners may need more help with measurements, staging, and understanding each material’s purpose. Both groups benefit from a written layer plan, labeled quantities, and clear questions for the supplier. That preparation makes the ordering conversation faster and reduces preventable confusion on site.
What Base-Planning Mistakes Should You Avoid?
Avoid planning mistakes such as ignoring runoff, ordering from guessed dimensions, using bedding sand to correct deep low spots. Placing aggregate too deeply for effective compaction, and selecting surface materials after excavation. Also avoid assuming one standard base depth fits every North Texas property, because soil, load, drainage, and product requirements vary.
Do not treat all sand and stone as interchangeable
Road base, bedding sand, patio stone, and joint material have distinct functions. A product that works well in one layer may not suit another. Ask what each material is intended to do and confirm it against the surface manufacturer’s instructions. This prevents a convenient substitution from becoming a hidden weakness in the completed system.
Do not lose the planned slope between layers
A properly shaped subgrade does not help if later lifts introduce flat spots or reverse the drainage direction. Check slope after excavation, after every aggregate lift, after the final base pass, and across the finished surface. Use consistent reference lines and record measurements on larger jobs so corrections are based on evidence rather than appearance.
Do not promise performance from materials alone
Quality materials are important, but patio results also depend on site conditions, design, installation, drainage, equipment, and maintenance. Suppliers can help identify materials and quantities, while installers and qualified professionals address site-specific design and construction decisions. Framing the project this way keeps planning practical and avoids unsupported claims about how any patio will perform.
Frequently Asked Questions About North Texas Paver Bases
North Texas paver-base questions usually concern depth, clay soil, bedding sand, and ordering quantities. The right answer depends on the measured site, selected surface, expected use, drainage plan, and installation instructions. Use the following answers as planning guidance, then confirm the final design and material list for the actual property.
How deep should a paver patio base be in North Texas?
There is no universal depth for every North Texas patio. The planned depth depends on subgrade condition, drainage, expected use, selected paver system, and installer or manufacturer guidance. Calculate excavation only after defining every compacted layer and the surface thickness. Seek professional input for unusually soft soil, steep grades, or complex drainage.
Can pavers be installed directly over North Texas clay?
Installing pavers directly on untreated clay does not provide the coordinated base system typically planned for a patio. Clay can change with moisture and may be uneven. A project plan commonly addresses excavation, prepared subgrade, compacted aggregate, bedding, edges, and joints. Confirm the appropriate system for the site and selected paver product.
Is cushion sand the same as road base?
No. Road base is discussed for the compacted aggregate platform, while compatible cushion or bedding sand is used as a thin setting layer beneath many paver systems. Bedding sand should not replace the deeper compacted base or fill major low areas. Confirm both products against the chosen surface’s installation requirements before ordering.
How do I estimate road base and bedding sand quantities?
Measure the footprint, multiply square feet by each planned compacted depth in feet, and convert cubic feet to the supplier’s sales unit. Calculate road base and bedding sand separately. Then discuss compaction, handling, access, irregular shapes, and a sensible planning allowance with the supplier before placing the final order.
Bring McCraw Landscape Supply your footprint measurements, intended layer plan, selected surface, and delivery details. Our local team can help contractors and homeowners organize a practical material list for projects in Van Alstyne, Anna, and nearby North Texas communities.
Contact McCraw Landscape Supply to review materials and quantities for your paver patio plan.
